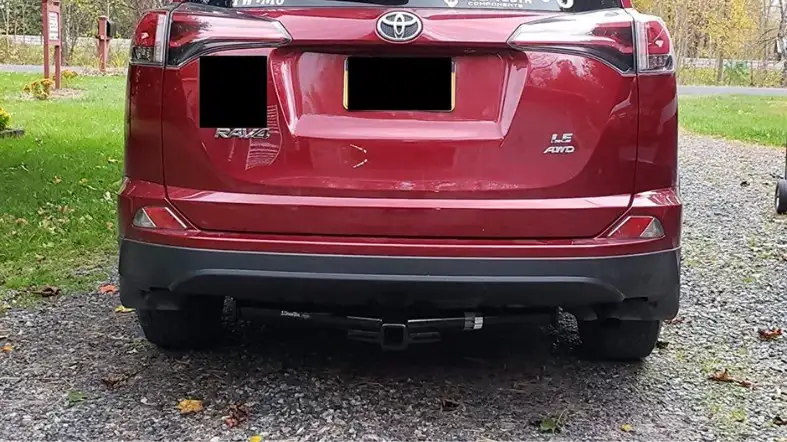
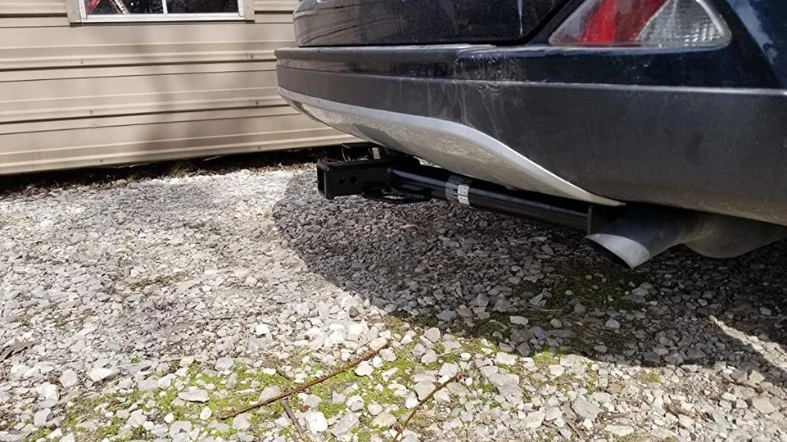
Installing a trailer hitch receiver is a straightforward process that can be completed in just a few hours.
All you need is a basic toolkit, some automotive knowledge, and a little bit of patience.
In this article, we’ll walk you through the steps involved how to install a trailer hitch receiver on your vehicle.
We’ll also provide some tips to make the process go more smoothly.
So let’s get started!
How to install a trailer hitch receiver on your vehicle?
Installing a trailer hitch receiver on your vehicle typically involves the following steps:

1. Gather necessary tools and materials
- Trailer hitch receiver kit
- Socket and ratchet set
- Torque wrench
- Measuring tape
- Jack and jack stands
2. Locate the hitch mounting points on your vehicle
Refer to the vehicle’s owner’s manual or manufacturer’s website to determine the hitch mounting points on your vehicle
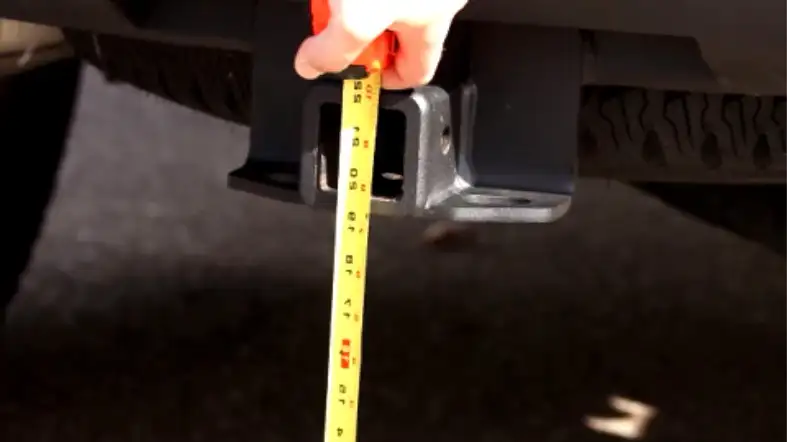
Measure the distance between the mounting points to ensure that the hitch receiver kit fits properly
3. Install the hitch receiver
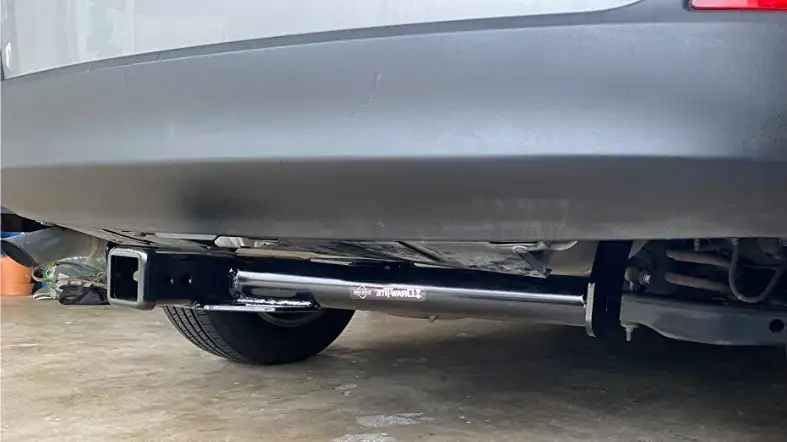
Place the hitch receiver onto the mounting points and secure it with the provided bolts and nuts
Use the socket and ratchet set to tighten the bolts to the specified torque as indicated in the kit instructions
Double check the tightness of the bolts and the alignment of the hitch receiver
4. Install the trailer wiring harness
Follow the instructions provided with the trailer wiring harness kit to properly install the wiring harness onto the hitch receiver and connect it to the vehicle’s electrical system
5. Test the hitch and wiring
Test the hitch and wiring by attaching a trailer and ensuring that the trailer lights and brakes are functioning properly
6. Perform regular maintenance and inspections
Regularly inspect the hitch and wiring for any damage or loose connections.
Tighten any loose bolts and replace any damaged parts as necessary to ensure the safe and proper functioning of the hitch and wiring.
What is a trailer hitch receiver and what are its benefits?
A trailer hitch receiver is a specialized type of coupler that is installed on the back of your vehicle to attach a trailer or other towed device.
It allows you to easily tow large objects and can help you expand the capabilities of your vehicle.
Some common benefits of installing a trailer hitch receiver include;
Safety and stability
Increased safety and stability when towing large objects.
By properly distributing the weight of your trailer or towed device, a receiver hitch can help prevent swaying and reduce the chances of losing control while driving.
Easy towing
Easier maneuverability when you are towing.
With a trailer hitch receiver, it is much easier to make sharp turns and navigate tight spaces, which can help save time when you are traveling.
Flexibility
Greater flexibility for your vehicle.
A trailer hitch receiver allows you to use a wide range of trailers and other towed devices, giving your vehicle more versatility for whatever situations you may encounter on the road.
How To Measure Your Vehicle For The Correct Hitch Receiver Size?

When you are installing a trailer hitch receiver on your vehicle, it is important to make sure that you get the right size for your vehicle.
So, you will need to take some basic measurements of your vehicle’s frame.
Step 1
The first step is to determine the size of your vehicle’s hitch receiver.
This can be done by measuring the distance between the two mounting points on the back of your vehicle.
Most hitch receivers are either 1.25 inches or 2 inches in diameter.
Step 2
Once you know the size of your hitch receiver, you need to determine the size of the hitch ball that will be used with it.
Hitch balls come in a variety of sizes, ranging from 1 7/8 inches to 2 5/16 inches.
The most common size is 2 inches.
Step 3
Next, you need to determine the length of the hitch ball shank.
This is the portion of the hitch ball that extends from the base of the ball to the mount.
Hitch balls typically have a shank length of 1 inch or 1 1/4 inches.
Step 4
Once you have all of this information, you can select a hitch receiver that is compatible with your vehicle and trailer.
It is important to note that not all hitch receivers are universal, so be sure to check compatibility before making your purchase.
Step 5
Once you have selected a hitch receiver, you will need to install it on your vehicle.
This typically involves drilling holes into your vehicle’s frame and attaching the receiver with bolts or screws.
Step 6
After your hitch receiver is installed, you can then attach your trailer’s coupler to it.
Be sure to use the appropriate-sized hitch ball and shank for your setup.
Step 7
Finally, you will need to secure your trailer to your vehicle using chains or straps.
This will help prevent your trailer from becoming detached while you are driving.
How To Choose The Right Trailer For Your Hitch Receiver?

Some factors to consider when choosing a trailer include:
Determining the size of your hitch receiver.
The first step in choosing the right trailer for your hitch receiver is to determine the size of your hitch receiver.
Hitch receivers come in a variety of sizes, so it is important to know which size you need before making a purchase.
Decide what type of trailer you need.
Once you know the size of your hitch receiver, you can then decide what type of trailer you need.
There are a variety of trailers on the market, so it is important to choose one that will suit your needs.
For example, if you are looking to tow a boat, you will need a different type of trailer than if you are looking to tow a camper.
Consider the weight capacity of the trailer.
When choosing a trailer, it is also important to consider the weight capacity of the trailer.
You will want to make sure that the trailer can safely and securely hold the load that you intend to put on it.
Choose a trailer with brakes.
Another important consideration when choosing a trailer is whether or not the trailer has brakes.
Brakes are an important safety feature, and they can help to prevent accidents when you are towed behind another vehicle.
Select a style that suits your needs.
There are a variety of different styles of trailers on the market, so it is important to select one that suits your needs.
For example, if you are looking for a more aerodynamic option, you may want to choose a flatbed trailer over a traditional enclosed trailer.
Compare prices and reviews before making a purchase.
Before making a purchase, it is always important to compare prices and reviews in order to get the best value for your money.
There are a variety of websites that offer comparisons of trailers, so be sure to take advantage of these resources before making a final decision.
What Are The Tips For Using Your Trailer Hitch Receiver Safely?

There are a few key tips that you should keep in mind when using your trailer hitch receiver to help ensure safety and prevent accidents.
These include:
1. Always use a trailer hitch receiver that is rated for the weight of your trailer.
2. Make sure that the trailer hitch receiver is properly secured to your vehicle before attaching your trailer.
3. Inspect your trailer hitch receiver and all of the connections between your vehicle and the trailer before each trip.
4. Do not overload your trailer or exceed the maximum towing capacity of your vehicle.
5. When disconnecting your trailer from your vehicle, be sure to remove all of the slack from the chains or straps before removing them completely.
FAQs about trailer hitch receivers
How Do I Install A Trailer Hitch Receiver?
Installation of a trailer hitch receiver consists of several steps.
You will need to purchase a hitch receiver.
It is designed specifically for your vehicle make and model and meets the safety standards recommended by the National Highway Traffic Safety Administration (NHTSA).
What Tools Do I Need To Install A Trailer Hitch Receiver?
In order to install a trailer hitch receiver, you will need a few basic tools, including a socket wrench, an adjustable wrench, and a jack.
You may also need to purchase other specialized tools depending on the specific type of hitch receiver you are installing.
How Long Does It Typically Take To Install A Trailer Hitch Receiver?
Depending on your level of experience and the complexity of your vehicle, it can take anywhere from an hour to several hours to install a trailer hitch receiver.
For best results, we recommend consulting a professional installer for guidance on this process.
How Much Does It Cost To Install A Trailer Hitch Receiver?
The cost of installing a trailer hitch receiver will vary depending on a number of factors, including the type of hitch you are installing and the complexity of your vehicle.
On average, installation costs typically range from $100 to $200.
If you need to purchase specialized tools or parts for your installation, those costs should also be factored in.
How Do I Know If My Vehicle Is Compatible With A Trailer Hitch Receiver?
Trailer hitch receivers are designed to be installed on specific make and model vehicles, so it’s important to do your research ahead of time to ensure that your vehicle is compatible.
Some manufacturers offer online compatibility tools or checklists, or you can consult a professional installer for assistance with this process.
The final thought
Installing a trailer hitch receiver on your vehicle requires careful planning and attention to detail.
By following the steps outlined in this article, you can successfully install a trailer hitch receiver on your vehicle and gain the ability to tow a variety of different loads.
It is important to consult your vehicle’s owner’s manual and follow all safety guidelines during the installation process to ensure a successful and safe installation.
